

When you think of the Netherlands, mountains probably aren’t the first thing that comes to mind. But the Dutch Mountain Trail offers a surprising multi-day hiking experience through the rolling hills of South Limburg.
If you’re looking for a trail that combines beautiful nature, interesting culture, and some real physical challenge without having to leave the country (or if you’re visiting the Netherlands and want to explore something off the beaten path), this trail is well worth adding to your hiking list.
I just finished hiking the Dutch Mountain Trail a few weeks ago, and was pleasantly surprised!
In this guide, I’ll take you through everything you need to know to hike the Dutch Mountain Trail, including the standard 4-day route and my personal 6-day itinerary with hotel recommendations.
What is the Dutch Mountain Trail?
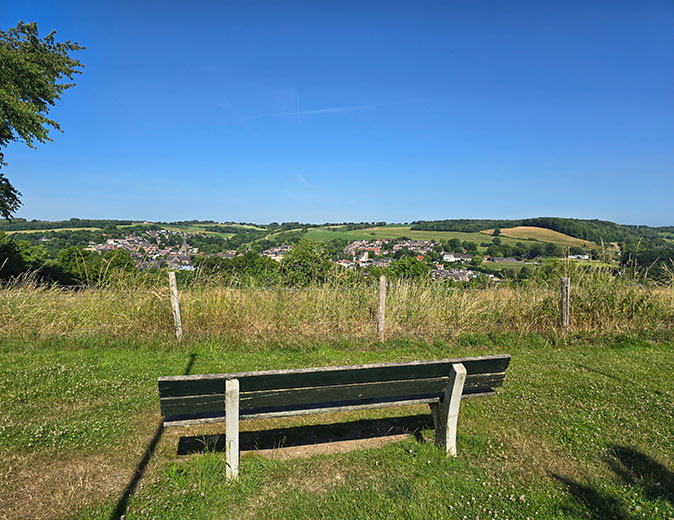
The Dutch Mountain Trail (DMT) is a 101-kilometer (63-mile) hiking route through South Limburg. It connects the seven highest summits in the Netherlands, passing through scenic countryside and picturesque villages, and even dipping into Germany and Belgium at various points.
Although the word “mountain” is used with a wink here (the highest point, the Vaalserberg, is just 322 meters above sea level), don’t underestimate this trail. The elevation gain over the entire route exceeds 1,500 meters (4920 feet).
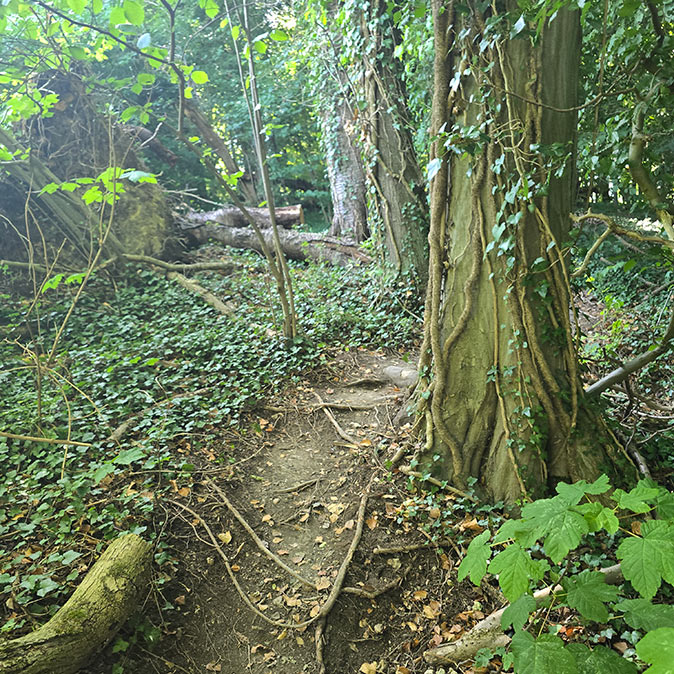
The terrain can be steep and rugged at times, and many paths are unpaved, narrow, and muddy after rain. This isn’t your typical Dutch canal-side stroll.
The trail starts in Eygelshoven, near Kerkrade, and ends in Maastricht, both of which are easily accessible by train, making it convenient to start and finish your hike right from the train station.
The trail was created in 2020 and has quickly become one of the most popular long-distance hiking routes in the Netherlands.
The Best Time of Year to Hike the Dutch Mountain Trail
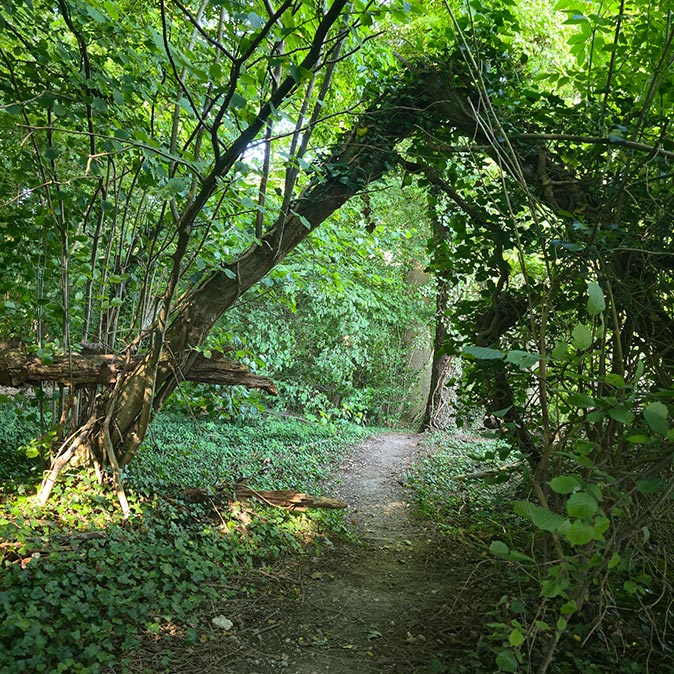
The best time to hike this trail is from late spring to early autumn, roughly May through October.
During this period, the weather is generally mild, the days are longer, and you’ll enjoy lush green landscapes and blooming wildflowers.
July and August can be warm, but temperatures in South Limburg rarely reach extremes. That being said, we walked the trail at the end of June, and temperatures reached 32 °C (90 °F)! That is very unusual though.
Rain is always a possibility in the Netherlands, even in summer, so pack accordingly.
Spring and autumn offer quieter trails and slightly cooler weather—perfect if you prefer hiking without the summer crowds.
The Standard 4-Day Itinerary
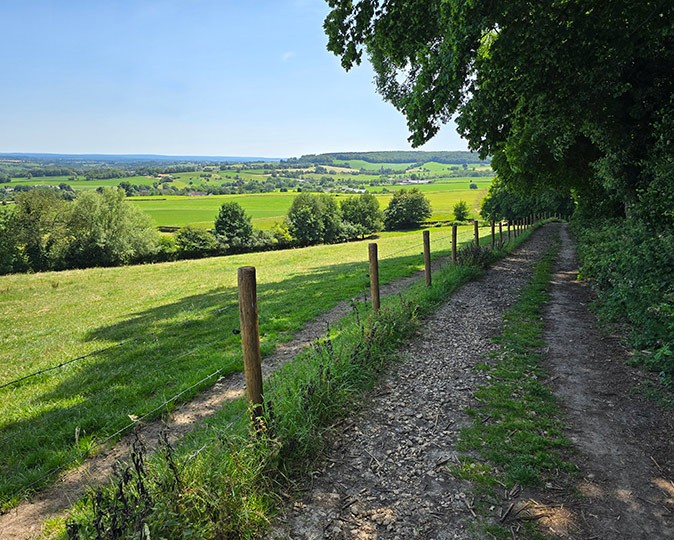
The Dutch Mountain Trail was divided into four stages to make it into a 4-day hike. Each stage is roughly 23 to 28 kilometers (14 to 17.5 miles). This makes for some long and potentially tough hiking days, especially considering the hills and elevation gain.
Here’s how the official 4-day route breaks down:
Day 1: Eygelshoven to Vaals (approximately 28 kilometers)
Day 2: Vaals to Gulpen (around 23 kilometers)
Day 3: Gulpen to Mheer (about 26 kilometers)
Day 4: Mheer to Maastricht (roughly 24 kilometers)
While this version is doable if you are fit and used to hiking long days, we decided to break it up into six days instead. That allowed for shorter walking distances, more time to enjoy the surroundings and less physical strain.
I really enjoyed not having to rush and being able to stop for lunch or a drink without watching the clock.
Why We Chose a 6-Day Itinerary
Before starting the Dutch Mountain Trail, I had recently walked the Camino de Santiago. I learned that I can walk 20 kilometers on relatively flat terrain comfortably, I can manage 25 kilometers, but after 25 it starts to become painful.
The idea of pushing through four back-to-back 25-kilometer hikes with hills and uneven terrain felt like a bit too much. So instead, we planned a 6-day itinerary that would give us a more relaxed experience without missing any part of the trail.
And honestly, I’m really glad we did it this way. We weren’t completely exhausted at the end of each day, had more time to enjoy the towns and countryside, and still felt like we had accomplished something special.
Our 6-Day Itinerary (With Hotel Recommendations)
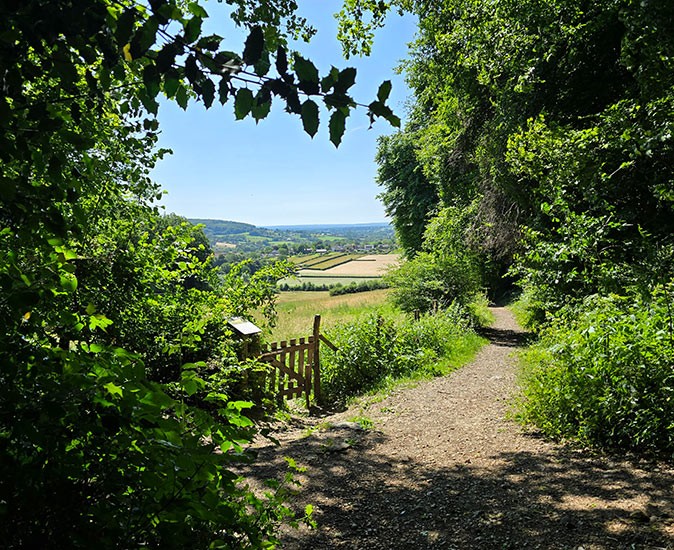
We stayed in hotels each night and booked all of them in advance, which I would highly recommend. Many of the villages along the trail are small, and accommodation options can be limited, especially during weekends or holidays.
Day 1: Eygelshoven to Kerkrade (approximately 11 kilometers)
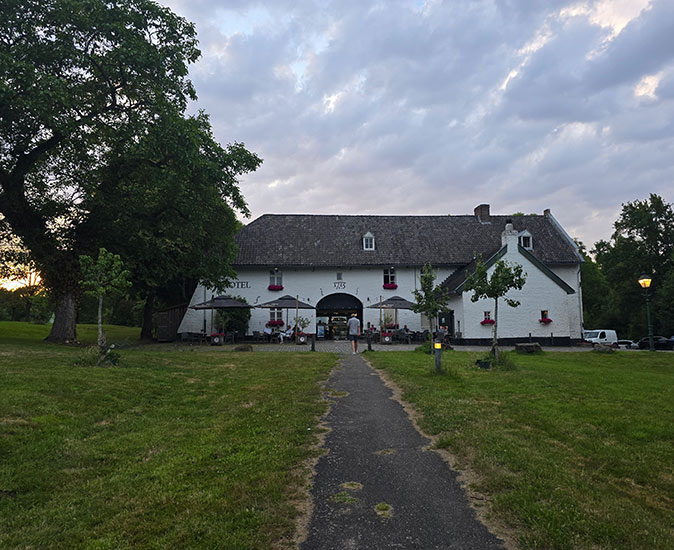
We arrived in Eygelshoven by train just before lunch and had decided to take it easy on the first day.
We walked to Kerkrade and stayed at Fletcher Hotel-Restaurant Kasteel Erenstein. This hotel is located next to a castle and has beautiful surroundings. It was a lovely, quiet place and a perfect start of our hike.
Day 2: Kerkrade to Vaals (around 18 kilometers)
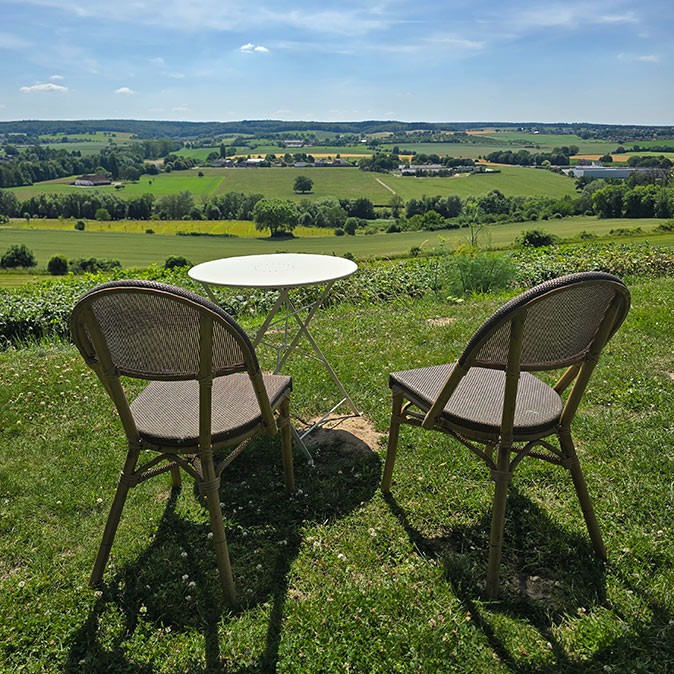
This section included some of the steepest climbs of the trail. We crossed into Germany briefly and enjoyed beautiful views of the border region.
We spent the night in Hotel Vallis, a small and friendly hotel in Vaals. Nothing fancy, but clean, comfortable and right in the center of town.
Day 3: Vaals to Gulpen (about 25 kilometers)
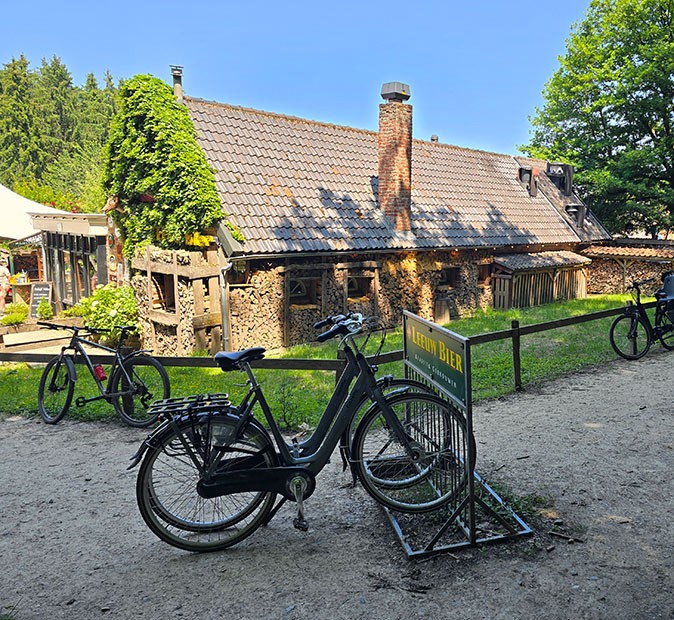
This was our longest day, but the views made it worthwhile. We crossed the Vaalserberg, the highest point in the Netherlands, and continued along rolling hills and farmlands.
We stayed at Hotel Gulpenerland, which has a great location right next to the trail and a cozy restaurant.
Tip: If you feel up for a little walk in the evening, go to Gulpener BrouwLokaal. It’s a brewpub where they brew the famous local beer and they have good food too.
Day 4: Gulpen to Slenaken (approximately 18 kilometers)
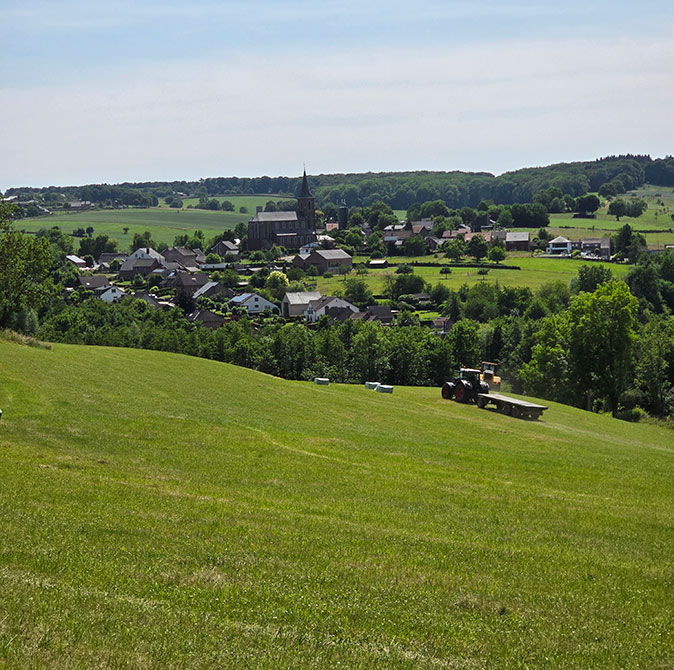
This stage felt more relaxed again, with fewer steep climbs and more forest paths.
We stayed at the Best Western Hotel in Slenaken. This hotel is a bit more upscale and has a restaurant with panoramic views.
Day 5: Slenaken to Mesch (around 18 kilometers)
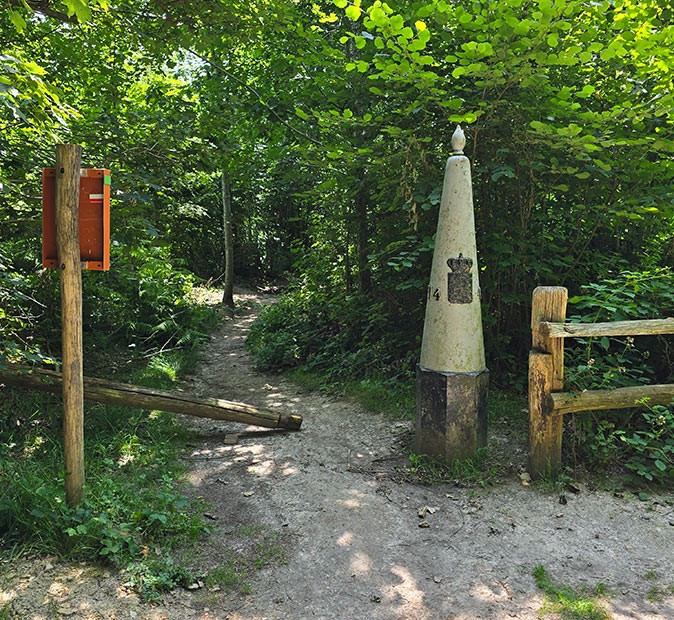
We crossed into Belgium for part of the day and walked through quiet farmland and forest.
In Mesch I couldn’t find any place to stay, so we ended up staying just across the Belgian border in the village of Voeren at Blanckthys Hotel. It was a bit of a detour, but a surprisingly cozy hotel with a nice restaurant and a great outdoor terrace.
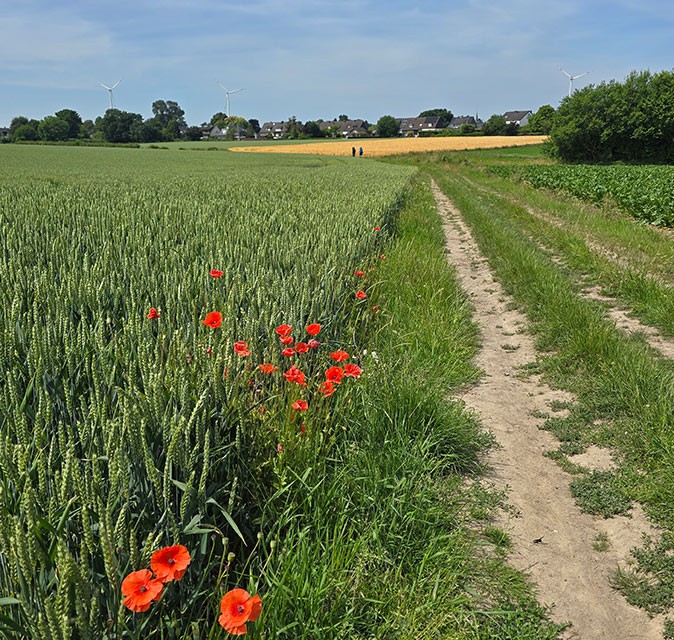
Day 6: Mesch to Maastricht (roughly 17 kilometers)
The final day took us through some beautiful open fields and past the impressive ENCI quarry before reaching the outskirts of Maastricht.
We ended the hike in the city center and stayed at Boutique Hotel Sint Jacob to add a final night in Maastricht to our trip. The hotel was nice and centrally located, but nothing special.
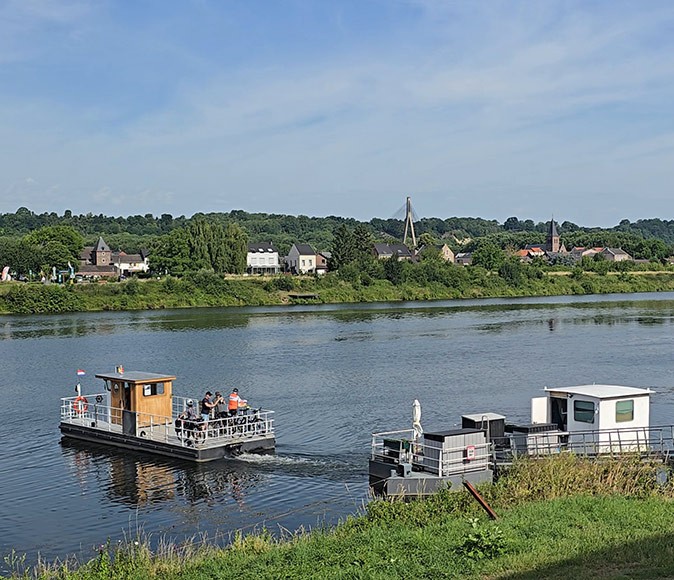
Note: On the final day, the hike includes a short, scenic ferry ride across the Maas, from Eijsden to Lanaye (Ternaaien). It’s a lovely 5-minute trip, but it’s seasonal: the small ferry operates daily from May through September. And, occasionally, it won’t run because of maintenance or weather conditions.
Check their Facebook page for updates before you set off, because if the ferry doesn’t run, you’ll have to walk an extra 6 kilometers or so to the bridge in Lixhe.
Trail Markings and Navigation
One thing to keep in mind is that the Dutch Mountain Trail is not marked very clearly. There are a few stickers with the trail logo here and there, but you should definitely not rely on signs alone.
You can find a map with the route here or on AllTrails (the app I always use for hiking).
We also brought the official guidebook, which is available in English. It includes detailed descriptions of the route, maps, and useful information about the trail and the areas you’ll be walking through.
Water and Food Along the Trail
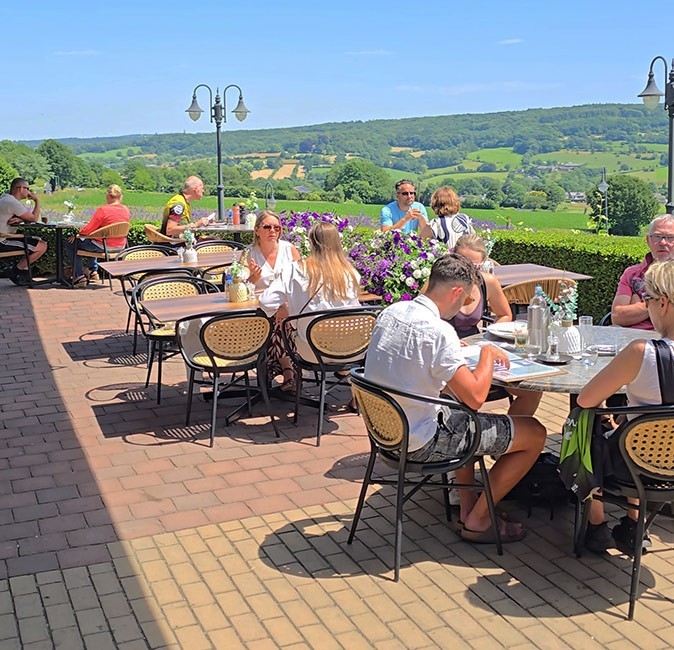
You’ll be walking through remote countryside for much of the trail, and water fountains are almost non-existent. We only came across one working fountain during the entire hike. So be sure to bring enough water each day and refill whenever you can in cafés or hotels.
There are small supermarkets and restaurants in most of the towns you’ll pass through, but they are not always right on the trail.
Each morning we would look at the trail and plan in some small detours to stop at cafes and restaurants along the way, just because we enjoyed stopping at local towns. But they aren’t always conveniently located.
There are plenty of benches and nice viewpoints along the way, perfect for a picnic and a short break. Just make sure you carry enough food and water.
Tip: If you’re walking on Sundays or public holidays, expect many stores to be closed, so you might want to buy food in advance.
What to Pack

Even though the trail is in the Netherlands, it feels a lot more like hiking in a hillier region like Germany or Belgium. I highly recommend wearing proper hiking shoes or boots with good grip.
A lightweight rain jacket is also essential—this is the Netherlands, after all.
We used trekking poles, especially for the steeper downhill sections, and I was glad to have them. If you’re doing the trail in four days, I would say poles are a must. For a six-day hike, they’re still helpful but not essential.
You can book the Dutch Mountain Trail as an organized hike, where your luggage will be transported for you. We didn’t want to do that, so we had to carry our bags ourselves. In that case, I highly recommend you pack light.
Note: I used the Deuter Aircontact 35+10L backpack, which I’m very happy with. I’d recommend a 35 to 45 liter backpack, and really try to only pack the essentials!
Camping Along the Trail (The Budget-Friendly Option)
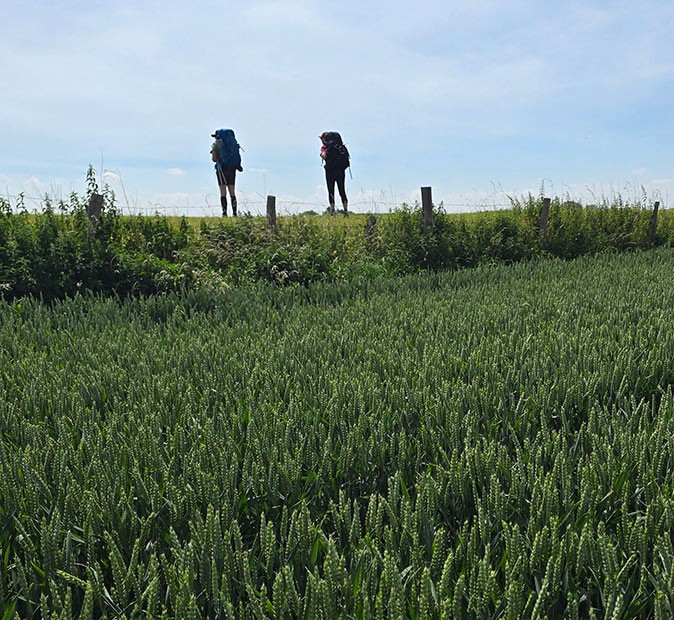
Do you prefer sleeping under the stars instead of in a hotel? Camping along the Dutch Mountain Trail is absolutely doable, and significantly cheaper.
That said, the campsites aren’t evenly spaced, so a little planning is essential.
Campsites Along the DMT
Wild camping isn’t allowed in the Netherlands so you will have to stay at official campgrounds.
There are several campsites located near the trail, though you’ll have to walk a bit off-route for them. I recommend doing a bit more research if you decide to camp along the trail. You can simply use Google Maps to find the campgrounds, but these are some of the main ones:
- Camping de Gastmolen — the first site after Vaals.
- Boerderijcamping Berghemmerhof — near Gulpen and popular with hikers.
- Camping De Grensheuvel (Noorbeek) — convenient for the third section.
- Camping Riva (Sint Geertruid) — near Mesch.
Each campsite accommodates tents (and often caravans) and usually offers basic amenities: toilets, showers, and sometimes a small shop or café. Prices typically start around €15 for two people, which makes it great for budget-minded hikers.
Of course it does mean you’ll have to hike with camping gear!
And although I have met hikers who didn’t prebook their campsites, they do fill up, especially from May to September, so I’d recommend booking in advance.
Lastly, check the facilities before you arrive. If there’s no shop or restaurant, you might want to bring food so that you don’t have to walk extra to the nearest supermarket, which might be quite far away.
Final Thoughts About Hiking the Dutch Mountain Trail
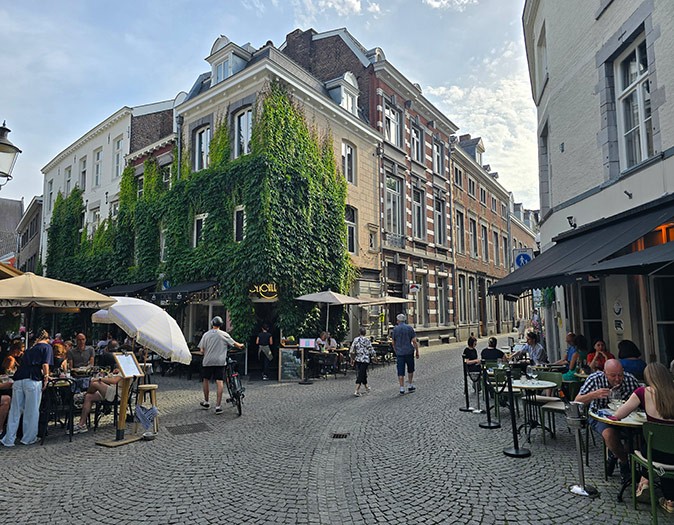
The Dutch Mountain Trail turned out to be much more beautiful than I expected.
The scenery is diverse, with forest trails, wide open fields, charming villages, and some steep climbs that feel very un-Dutch in the best way possible. And although it doesn’t reach alpine heights, it absolutely gives you that satisfying, end-of-day-hike tired feeling.
By choosing to hike the trail in six days instead of four, we were able to really enjoy the experience. I would recommend this version to anyone who likes hiking but doesn’t want to be rushed.
The hotels we stayed at were all comfortable and I’d happily recommend them.
Tip: If you want to see a day-by-day overview of our hike, check out my Instagram stories. Click on “Hiking Trail NL” under highlighted stories to see all the pictures and videos I shared.
If you’re looking for a unique hiking experience in the Netherlands that goes far beyond tulip fields and canals, this trail is absolutely worth it!
Also Read:
- Typical Dutch Food to Try in the Netherlands
- Is it Holland or The Netherlands? This Funny Video Explains It
- The Best Places to Visit in the Netherlands, Besides Amsterdam
- What to Look For in Travel Insurance
- What to Bring on a Hike – The Hiking Essentials
- Things to Know Before Hiking Solo
As an Amazon Associate I earn from qualifying purchases. This blog contains affiliate links. I may receive a commission for purchases made through these links, at no additional cost to you.